To Route Cable to a Raceway
Before cables can
be auto routed, auto connect tool has to be used first ( cables will have
length displayed if auto connect tool is used), and auto routing entry points
have to be verified and confirmed that each equipment has raceways selected
either by bounding sphere ( Max Distance) or by using the Include option.
- Open the drawing Routing.dgn.
- Start the Cable Manager (Detail Design).
- Select Collaboration Manager from ribbon and check out the cable resources.
- Select all Cables by clicking on the Check Box in the Upper left corner of the data grid and select, the Auto Routing Entry Points from the ribbon menu. This will allow you to visually check the entry points going into each connect point.
- In Cable Manager, select all Cables by clicking on the Check Box in the Upper left corner of the data grid and select AutoConnect from the ribbon menu.
- Click Auto Route button from the ribbon menu.
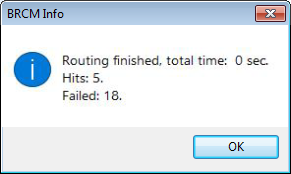
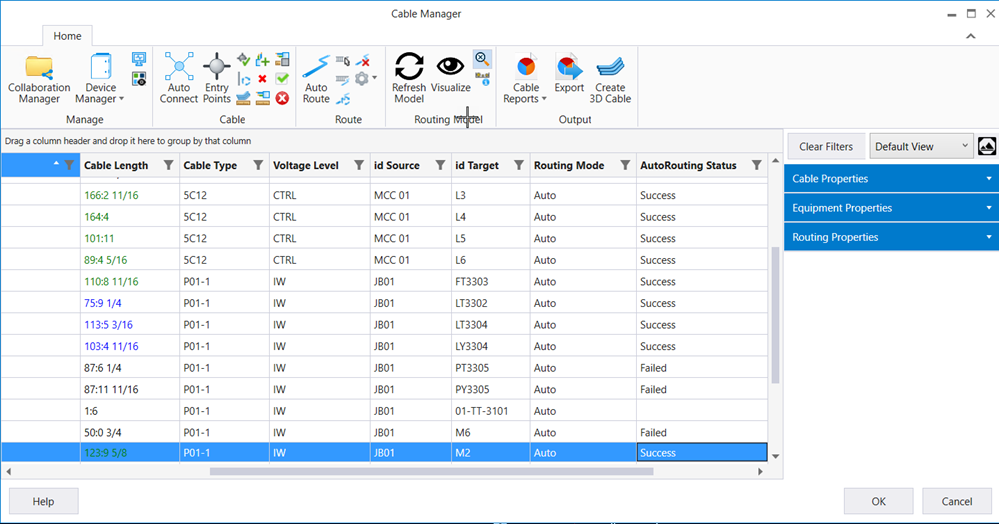
- Once cable routing is completed results will be displayed.
- In AutoRouting status column the system displays whether the autoroute has worked (Success) or didn't work (Failed).
- For auto routed cables length is automatically updated .
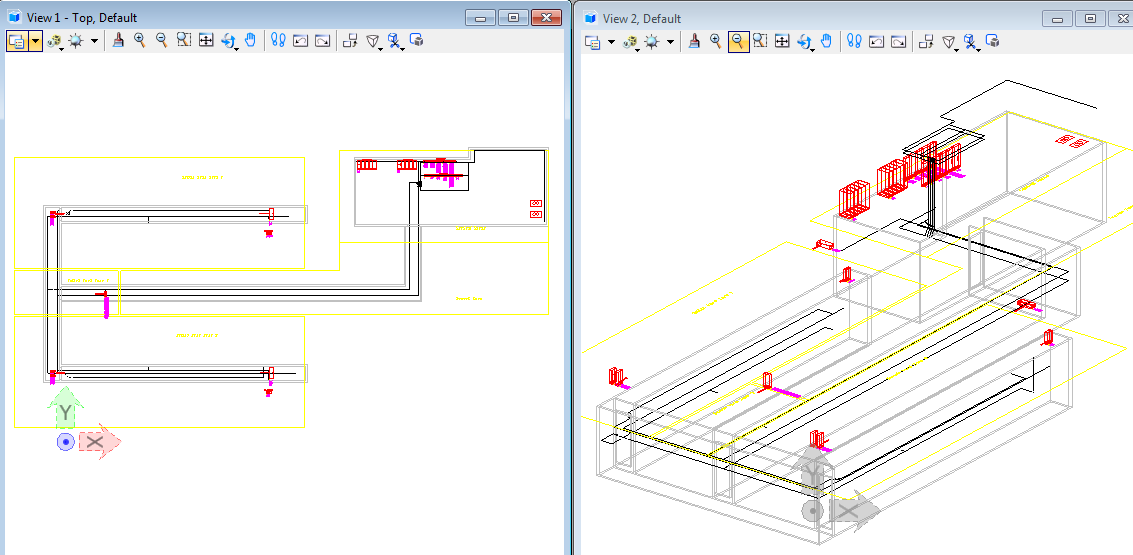
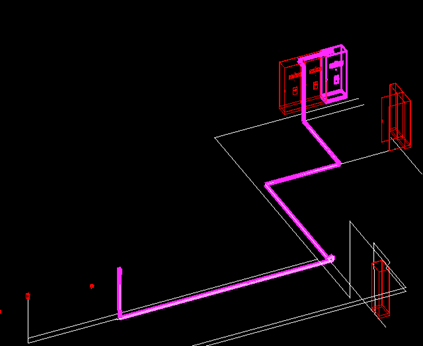
- To preview cable route select cable and from ribbon menu select option Visualize.
- Close the Cable Manager.